Project #1
Build a Live Website for Free in Under 30 Minutes
Use GitHub to Deploy on GitHub Pages in 5 steps
You will need: an email address and your computer (the downloads folder)
- Create a free account on GitHub.com
- Enter your email
- Create a password
- Create a username
- Use the code sent to your email to verify
- Sign in with your username/email and password
- Create a repository (‘repo’) on GitHub’s servers to store your files
- Click the ‘Create Repository’ button (or, click on your username in the upper left and in the upper right you will see a ‘+’ button, and you can choose new repository)
- Set Repository name: hello-world
- Accept all the default settings and click ‘Create’
- Set up your files
- Download this image from a well-known, trusted stock images site. (Accept the 1280 x 720 default size.)
- Back in the web browser at github.com, add this file by clicking on ‘Choose your files’ and select the image from your downloads folder (or, click on the name of your repo and you will see an ‘Add File’ button to the left of the green ‘Code’ button).
- Next, highlight the following text and copy it (Edit/Copy or Ctrl-C):
- Then, in your repo, click on ‘Add File’ and select ‘Create new file.’ In the blank section that appears, paste (CTRL-V) the text from above.
- Name the file: index.html
- Click the green “Commit changes” button.
- Edit the commit message if desired, then click the green “Commit” button.
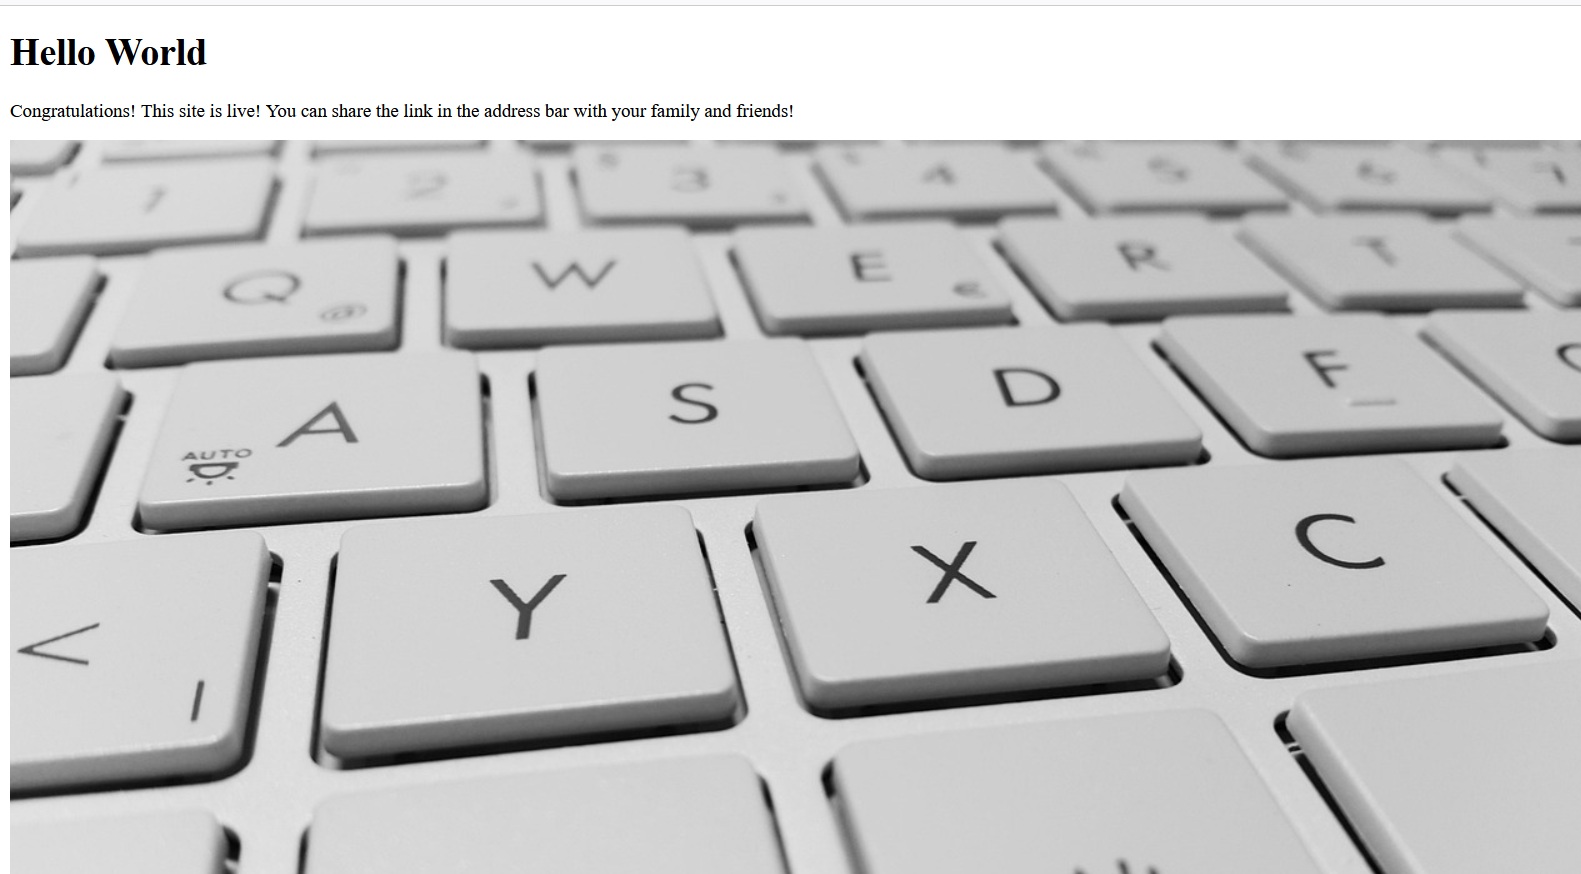
<!DOCTYPE html> <html lang="en"> <head> <meta charset="utf-8"> <meta name="viewport" content="width=device-width, initial-scale=1"> <title>Welcome to GitHub!</title> <link rel="stylesheet" href="css/normalize.css"> <link rel="stylesheet" href="css/main.css"> </head> <body> <div class="box"> <h1>Hello World</h1> <p>Congratulations to you!!! This site is live! You can share the link in the address bar with your family and friends!</p> </div> <div class="photo"> <img src="keyboard-886462_1280.jpg" alt="A keyboard with white keys."> </div> </body> </html> - Make your repo ready for GitHub Pages
- In the upper left corner under the GitHub logo, you will see ‘Code,’ ‘Issues,’ ‘Pull Requests,’ … and at the far right of that line, ‘Settings.’ Click on Settings.
- On the left of the page, look down the list toward the bottom and click on ‘Pages’
- In the ‘Build and Deployment’ section, under ‘Branch,’ change the dropdown that says ‘None’ to ‘main’ and click ‘Save.’
- Check out your live website!
- Refresh the Settings/Pages page by clicking CTRL-R
- Where it says, ‘Your site is live at….’ Click on the link. Voila!